Being a stay at home mom I have learned a very important principle! and that is... SAVE as much money as you can, where ever you can! To me saving money on something is a thrill and I seek it almost on a daily. When it comes to my house I try to save money as much as possible but still get what I want even if I have to get super creative!!This project was no exception!! We have 7 doors in our home all made of good quality wood but they are hideous and about 50 years old. I thought of driving to Home Depot, buying 7 doors and having my hubby install them but I ran into a problem. I didn't have $500+ dollars laying around for doors. Doors we already have and don't really need to replace. They are indeed throwing off my style in my house but I should be able to live with that....of course not! lol Yes they are good quality doors but I shouldn't have to live with ugly! :) replacing them with cheaper versions just doesn't make sense either. Here are the babes! the big light brown door leads to our guest bathroom which is under construction and the mahogany one is another way to get to our kitchen/laundry area!! We never use it. All my tools and junk are behind it so we don't like to leave it open. It makes our entry not so welcoming and very dark.

Doors before
I had a solution. I have always wanted the 5 panel farmhouse doors but new they are pricey and to find 7 that somewhat match and fit will be a forever project... it just never was going to happen. That's where my DIY attitude kicked into high gear. I called the hubby and said I need your truck I'm going to Home Depot, he of course said yes but I could hear a lot of concern in his voice. (which he should, I spend more at Home Depot then the mall)
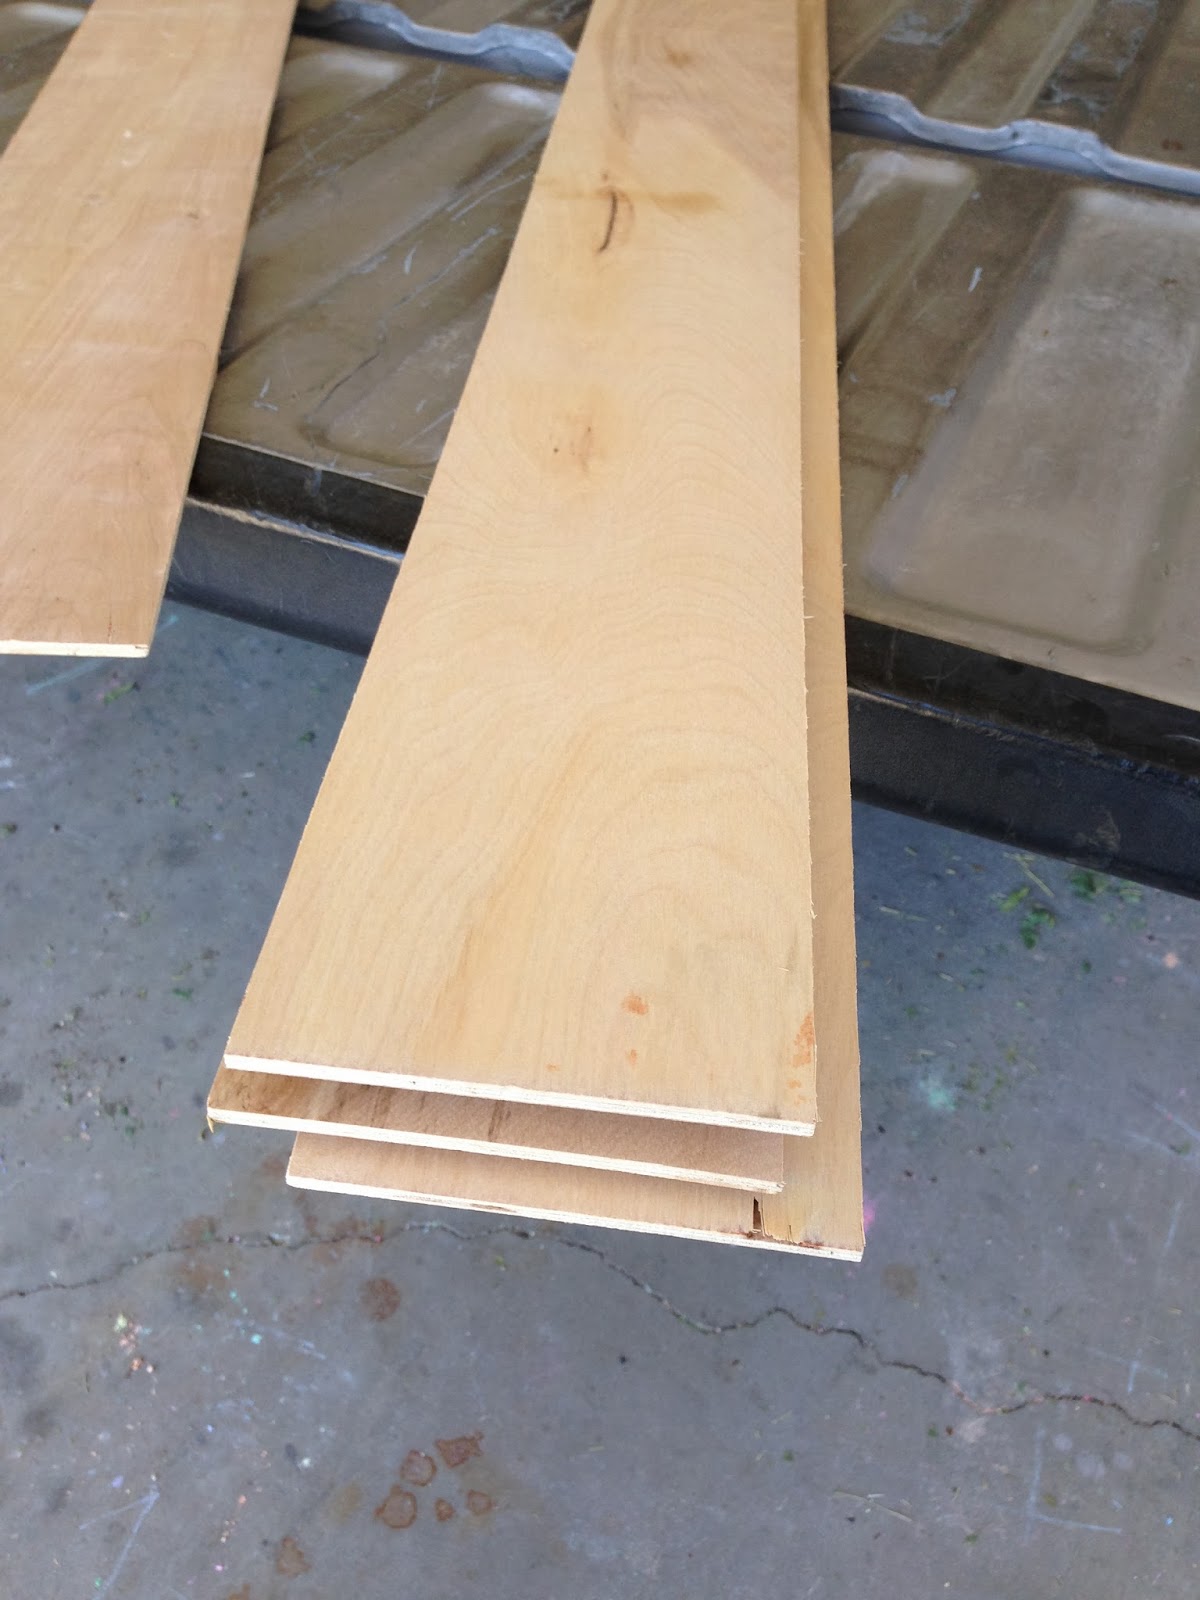
I had a plan and it would be to make my own doors. I went to Home Depot and purchased a thin piece of sanded plywood sheet and had them cut it into strips of 5in. They are typically 4ft x 8ft. I had them cut them length wise so all the strips would end up measuring 5inx8ft
I loaded them up and got to work.

I removed each door and measured it. I cut 2 long pieces to fit each side and glued and nailed them. Then I measured the center panels. cut, leveled, glued and nailed. pretty simple. The hard part was making sure each panel had the same amount of distance in-between. Also since the plywood is thin it is also really delicate. When cutting, it can shred a bit so be careful. Usually it was the backside that would do that but just fyi! You can always buy a thicker piece you just don't want to go to thick!!)


Once they were finished I filled holes and also used painters caulking for filling any big gaps I had. It also gives it a more finished look. Once I was done with that I primed the doors. This is where I ran into a small problem since my smaller door on the right of this picture opens away from you not toward you. When I hung it and went to close it, It wouldn't close because of the thin wood that was added. oh my!!! I was so mad. I had to remove all my work close the door and remeasure and add the wood panels with the door closed so it would be a good fit. If you do this make sure you check how your door closes before you start!! Doors that open like that will have about an 1/8in edge of the original door around it so it will be noticeable when opened but since this door is usually always closed I don't mind. I also only did the panels on the front parts of the door it was more for looks.
Here are the Results


This project cost $15 plus tax lol that is what the sheet of plywood cost me. I had a miter saw,nail gun,glue and all the fillers at home. The awesome part is I was able to do 2 doors!! $7.50 a piece. For less then $20 bucks I got 2 new doors and changed the way my entry way felt and looked. Before it was dark and junky looking now it looks fresh and has lots of charm! I am a very happy girl and my husband is a very happy boy too!!
There is A LOT I need to do in my home and A LOT of unfinished projects that need my attention. slowly but surely I will get to them. This project has helped open my mind a little more that all I need is a little bit of elbow grease and some spare change! I get what I want on a budget!! I can make my house a home in no time and still have money to go shopping!! :)
Wow! You did an amazing job! You inspire me to be a DIYer. Good work.
ReplyDeleteBTW, This is Abril's friend, Kim. Found your blog from Abril's link on Facebook.
Thanks Kim you are so sweet and it means a lot that you take the time to comment!!
DeleteThese are amazing! They totally look like they should be in an older home. I love them! I want to redo all the boring, ugly doors in my hallway, and I might have to use your idea. My blog is thriftaesthetic.wordpress.com. I'll make sure to give credit where it is due! Great job!
ReplyDeleteJaime!
DeleteThanks so much! They have really made a huge difference in my home. I'd love to see your before and after pics when you finish. Good luck!!
What a great idea!
ReplyDeleteThank you!
Delete